-40%
30ml Poly Gel Kit Nail Art DIY Extension Acrylic Building UV Pink Gel LED Lamp
$ 4.27
- Description
- Size Guide
Description
Product Description30ML PolyGel Nail Kit for Starter & Professional
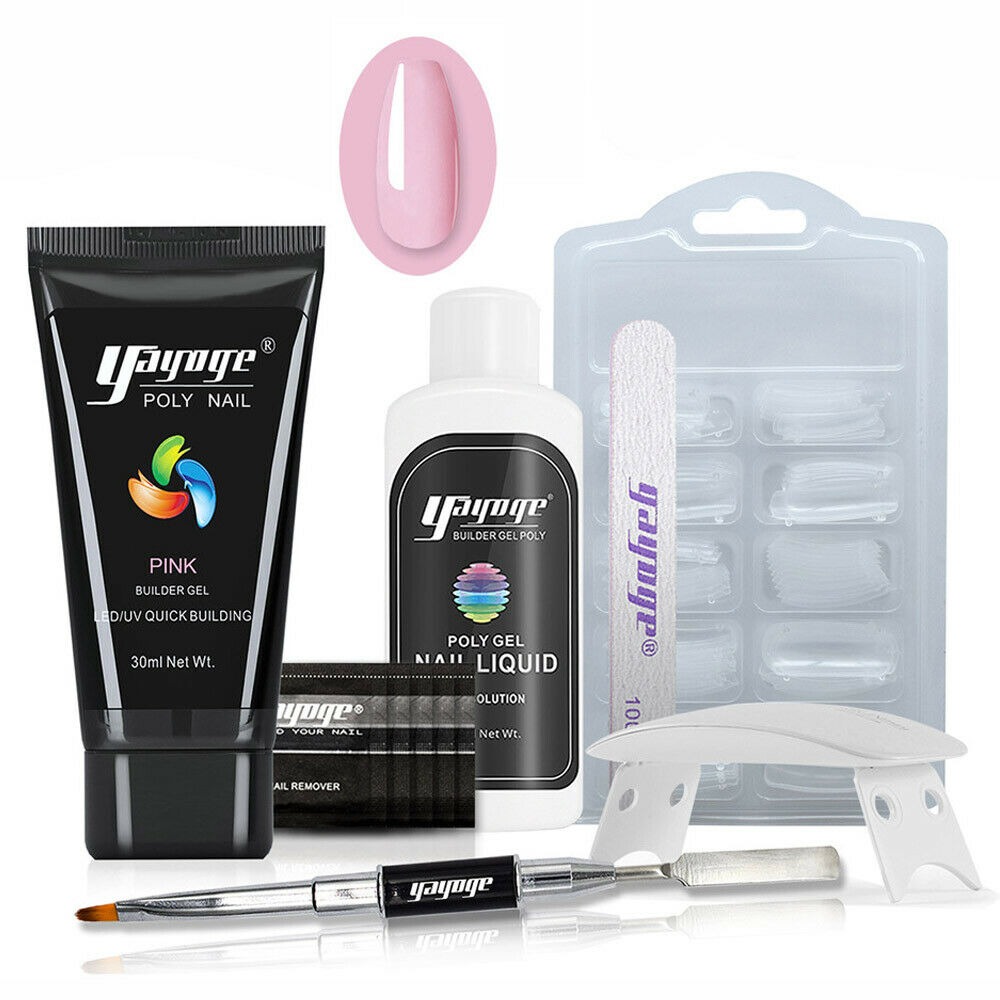
This nail builder gel kit includes
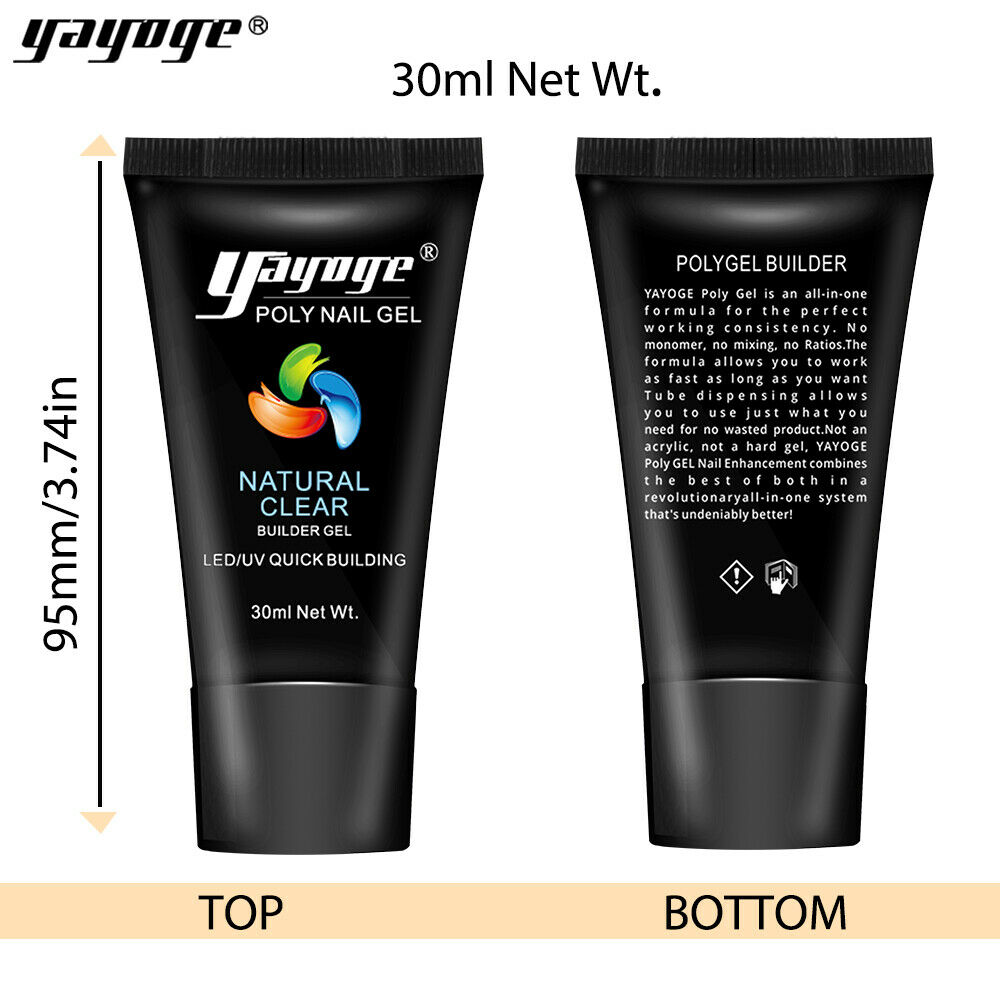
1 x Pink Extension Gel 30ml -1oz
1 x Nail Slip Solution 45ml -1.5oz
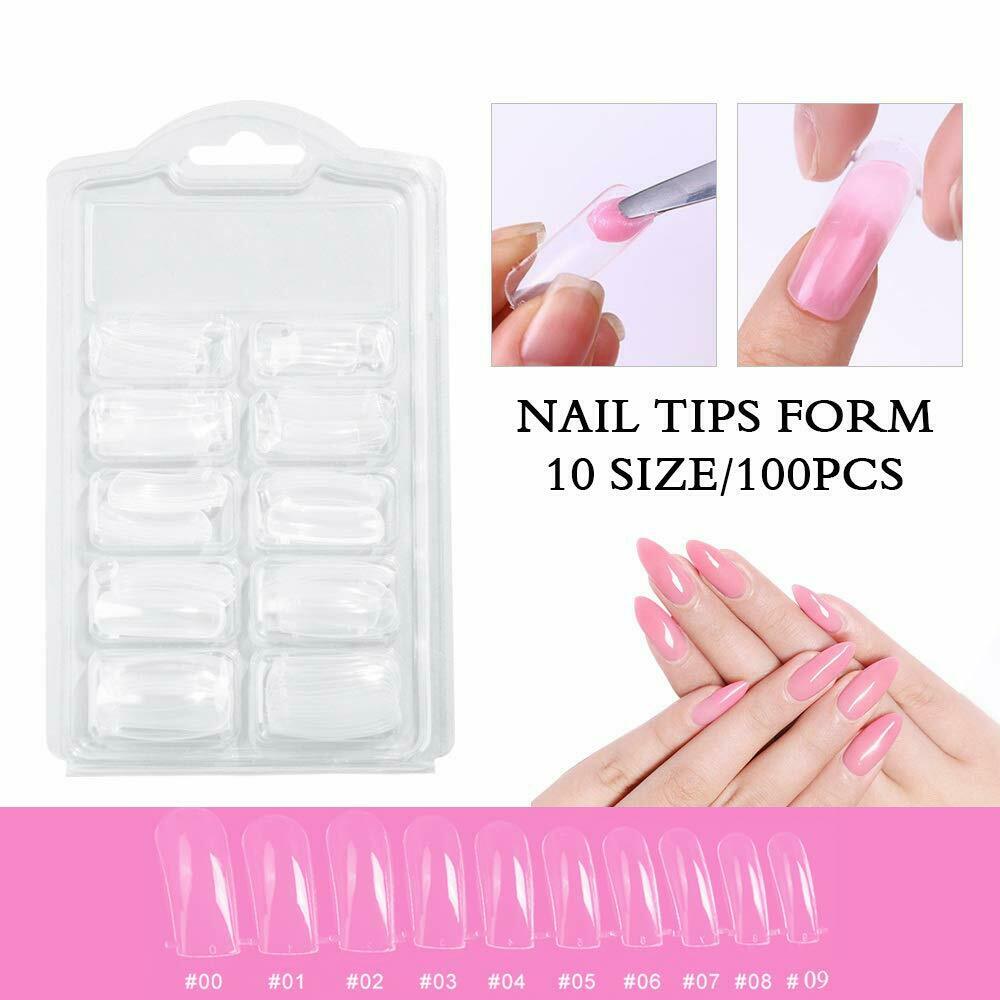
1 x Dual Form 100 pcs / 10 sizes
1 x Dual-ended nail brush and spatula
1 x Nail file
1 x 6W Led Lamp
1 x 10 pcs Nail Remover Wrap
Avoid nail gel broken,Make perfect builder gel long lasting tips:
1.Before applying,ensure your nails completely dry,clean and oil-free.
2.Apply base coat,please note that thinner is better.
3.Do not cure base coat for too long or too short.
4.Please make sure poly nail gel you add on the nail forms or nail extension sticker not too much or thinner.Remember use slip solution to spread gel completely.
5.Don't apply gel on skin or cuticle.After finishing nail extension gel,you can wipe with a slip solution or nail cleanser on both sides of the nail,so that the sticky layer will be removed.
6.Apply gel to the edge of each nail to seal gel and avoid chipping.
7.Use correct dual forms,apply a thicker poly nail gel in your middle nail part and a thinner layer in your nail on both sides.
8.Poly gel curing with UV lamp for 2-3 mins, LED lamp for 60-90s.The time needed depends on the thickness of gel.
9.DO NOT use your fingernails to open cans, nut shells, lids or any other hard things after finishing manicure.
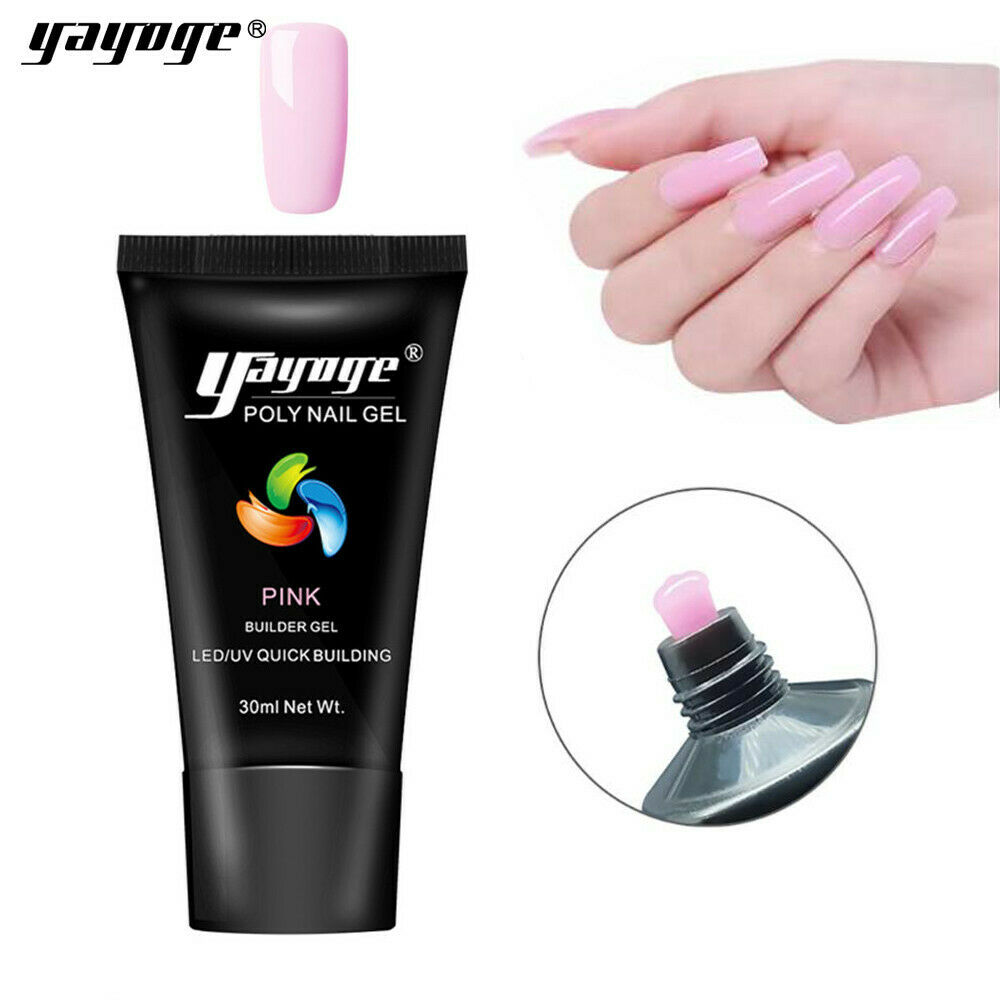
30ML EXTENSION GEL Pink
Starter kit comes with full size of 30ml pink extension gel
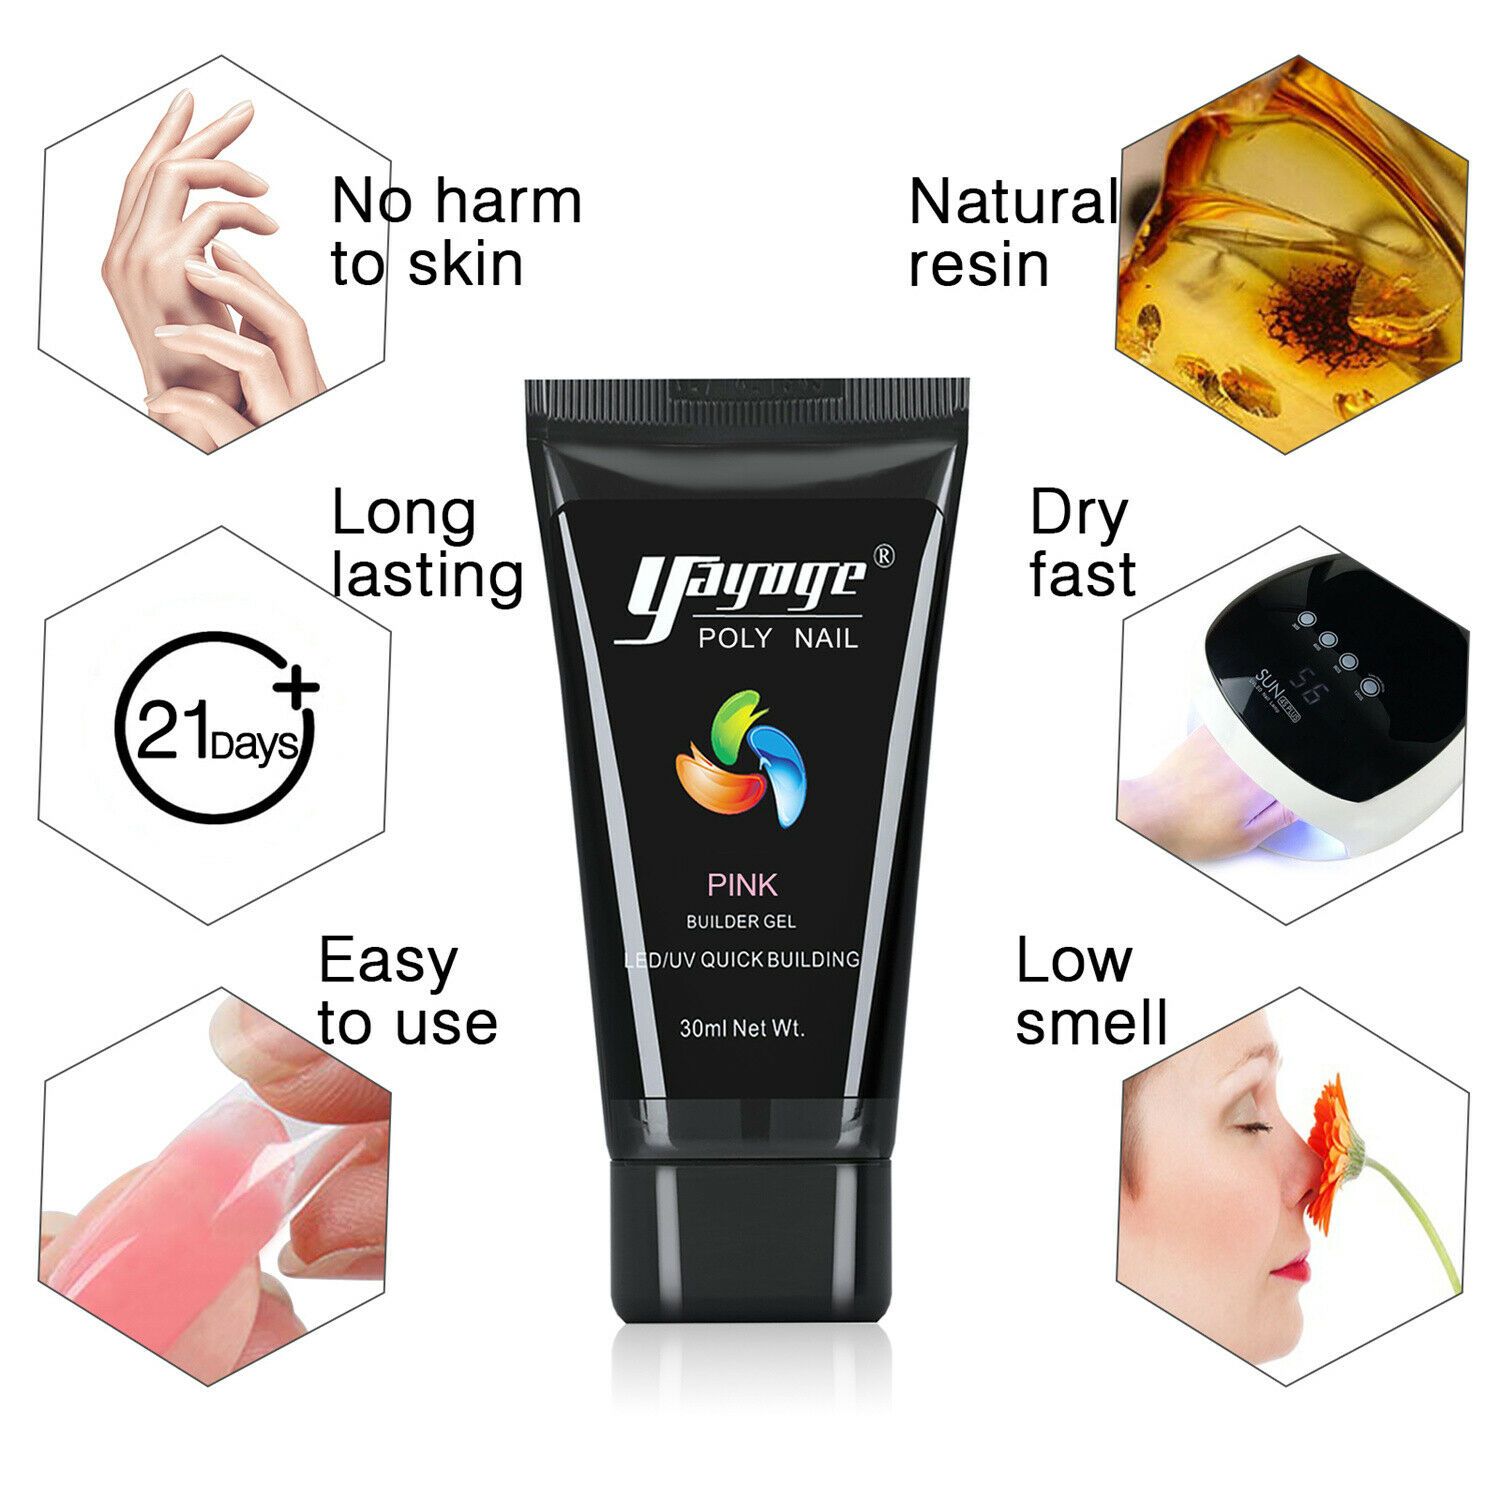
yayoge nail extension gel dry very fast.It's strong, flexible , easy to control.
yayoge poly gel can be used on artificial nails as well as natural nails.
wide usage, not only good for doing poly quick gel nails but also good for doing UV gel/acrylic nails/other nail extension, so you can make a beautiful nail art design on your finger nails even toe nails.
DIY your beautiful and durable nail extension nail art at home. And you can create various ornate and beautiful extension nails or other nail art design.
45ML Nail Slip Solution
1. Use :
Align the bottle mouth of the slip solution with the bottle cap, shake the bottle several times, and gently pour it into the cap, pay attention not to pour too much at once
2.Function:
The slip solution can help you eliminates friction for drag-free shaping. Help you put poly UV gel into place for the perfectly shaped nail easily.
Warm Tips: Make sure it's not too wet in case it canse bubble in the nails.
Dual-ended nail brush and spatula
1.Nail Brush & Picker Dual-Ended Acrylic UV Gel Nail Brushes Gel Nail Tool for Nail polish UV Gel Acrylic Nails Extension,Painting Leaves, Flower Petals. Perfect for both Professional Use or DIY Use.
2. Flat tip is for picking gel up & Brush tip is for shaping nail tips, the nail brush is used with UV gel/PolyGel to build gel nails or gel nail extension.
3. The pen-shaped nail brush has 2 pen caps to keep it clean & tidy and is stored into a clear stainless steel storage tube with covers. Non-deformation and non-corroding, durable for longer use.
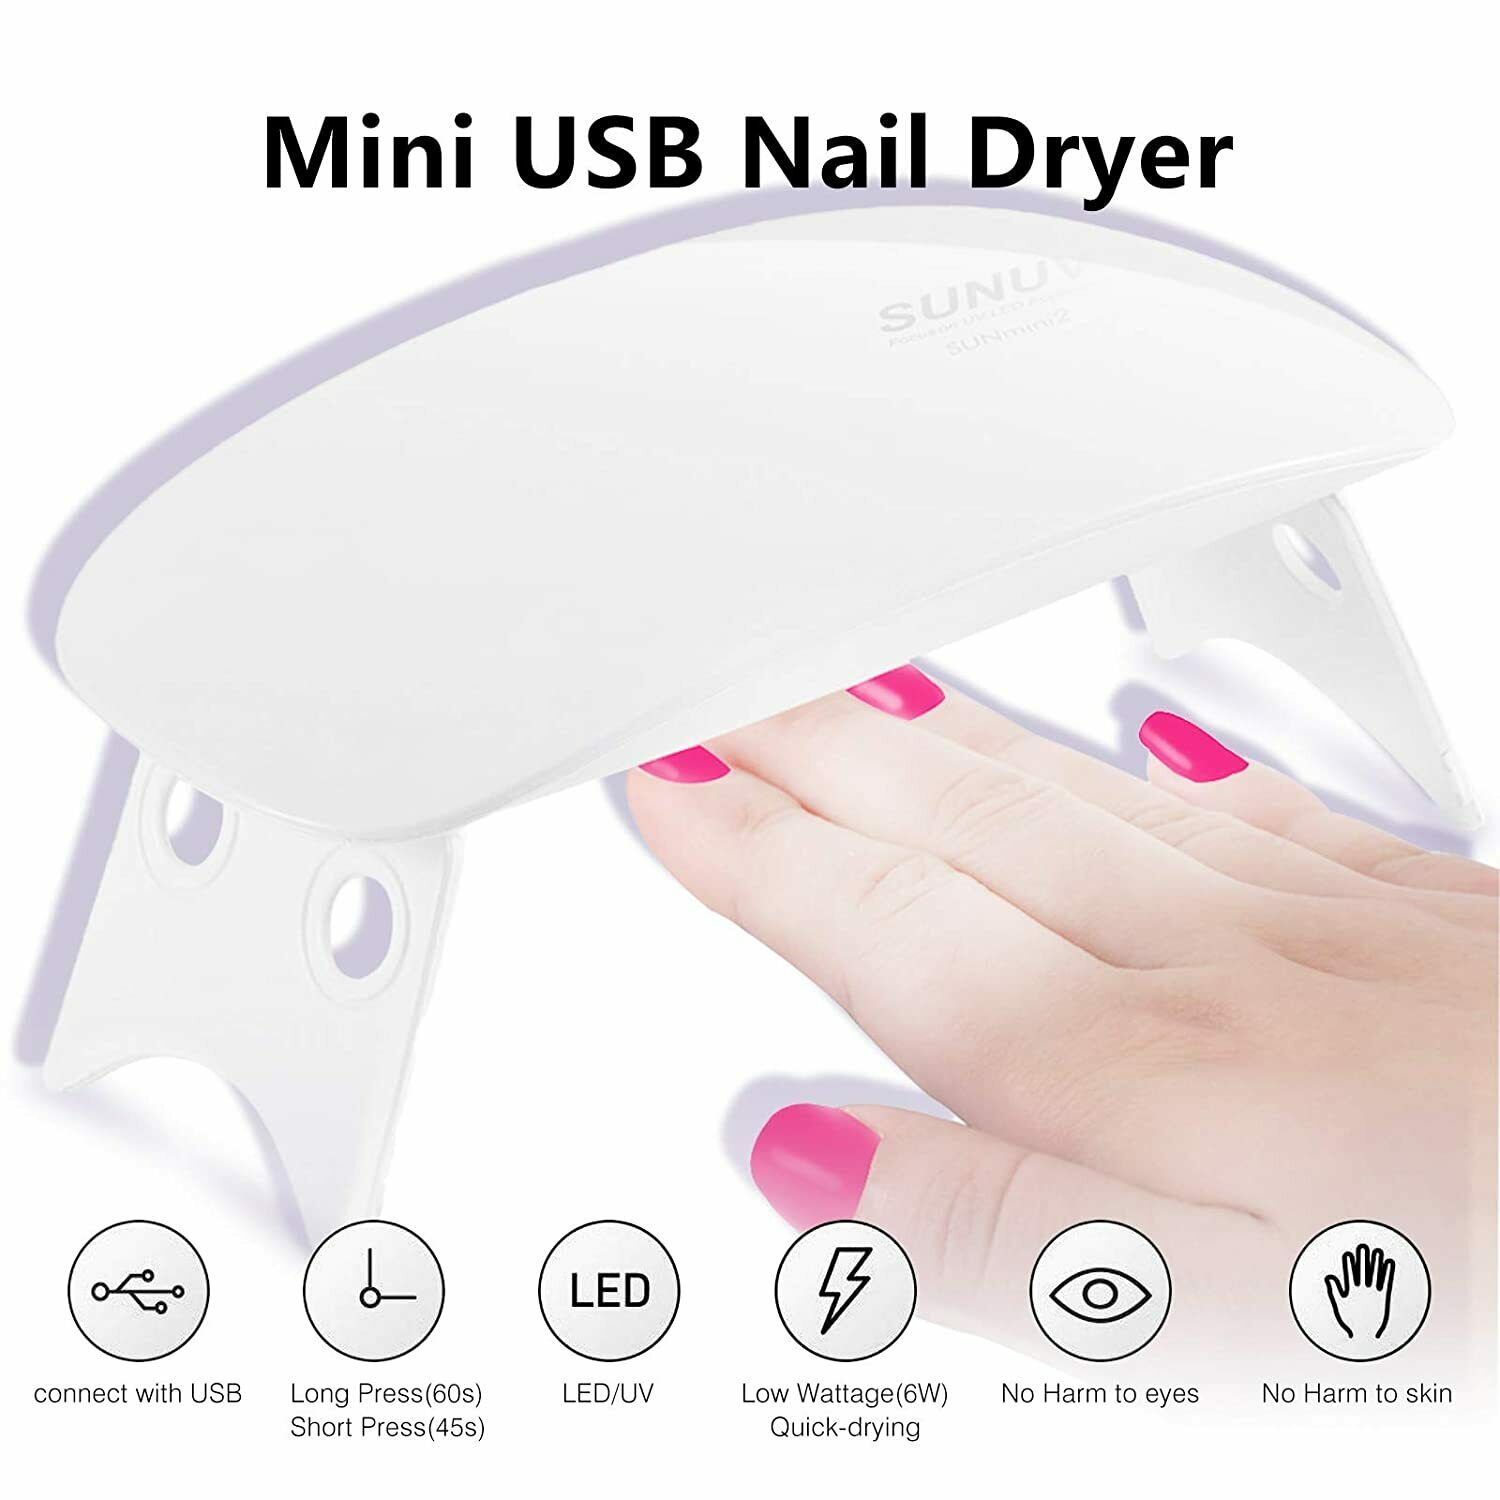
6W LED UV Nail Dryer Curing Lamp
Small,easy to portable,pocket size with micro USB port and USB line make it ideal for constant travels.
Gel Hard?
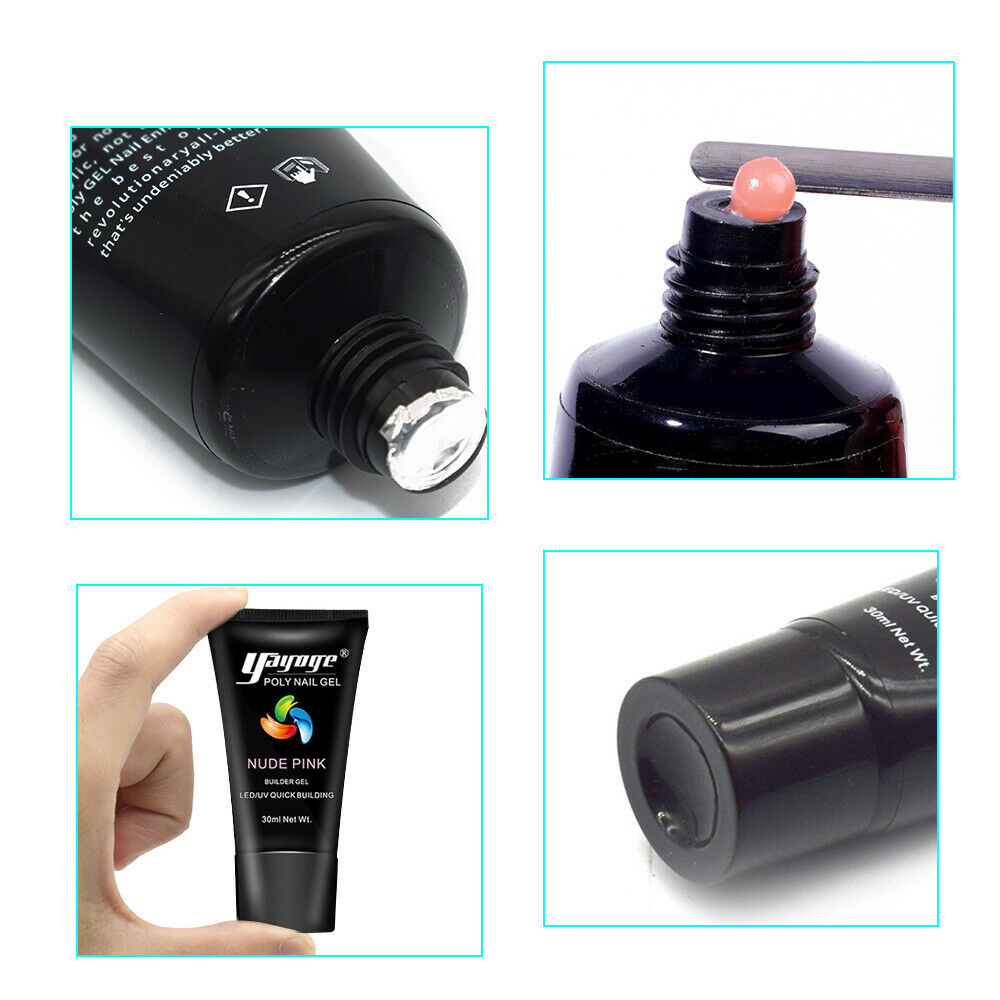
You could use tube sqeeze to press out the nail gel.
It might be hard to sqeeze out the gel at low temperatures. It's suggested that you seal the tube in an airtight and waterrpoof bag, put it in warm water at about 60℃ for 5-10 mins then take it out and use it as normal.
How to shape poly nail gel with a slip solution?
To preventing the gel sticking to the brush or other nail extension gel tools,you will need to dip the brush into a moderate amount of slip solution .
The brush should not too dry or too wet, press gently, remove any excess product that popped out from the sidewalls.
How to remove it?
1. Lightly buff off the shine from the top of nails using a nail buffer.
2. Place a cotton ball soaked in the remover on top of your nail.
3. Wrap each nail in tinfoil for around 15 minutes.
4. When the gel is crumbling or sliding off, gently use a rubber-ended cuticle pusher to clean the gel off of your nail bed.
Color difference?
Due to the different screen resolution of your computers or mobile phones,the different light environment when shooting pictures, and the different thickness you apply the gel, pleas allow some color difference between the item received and the product pictures in the page.
Different light sources, different coating, different monitors will make the colors look a little different.
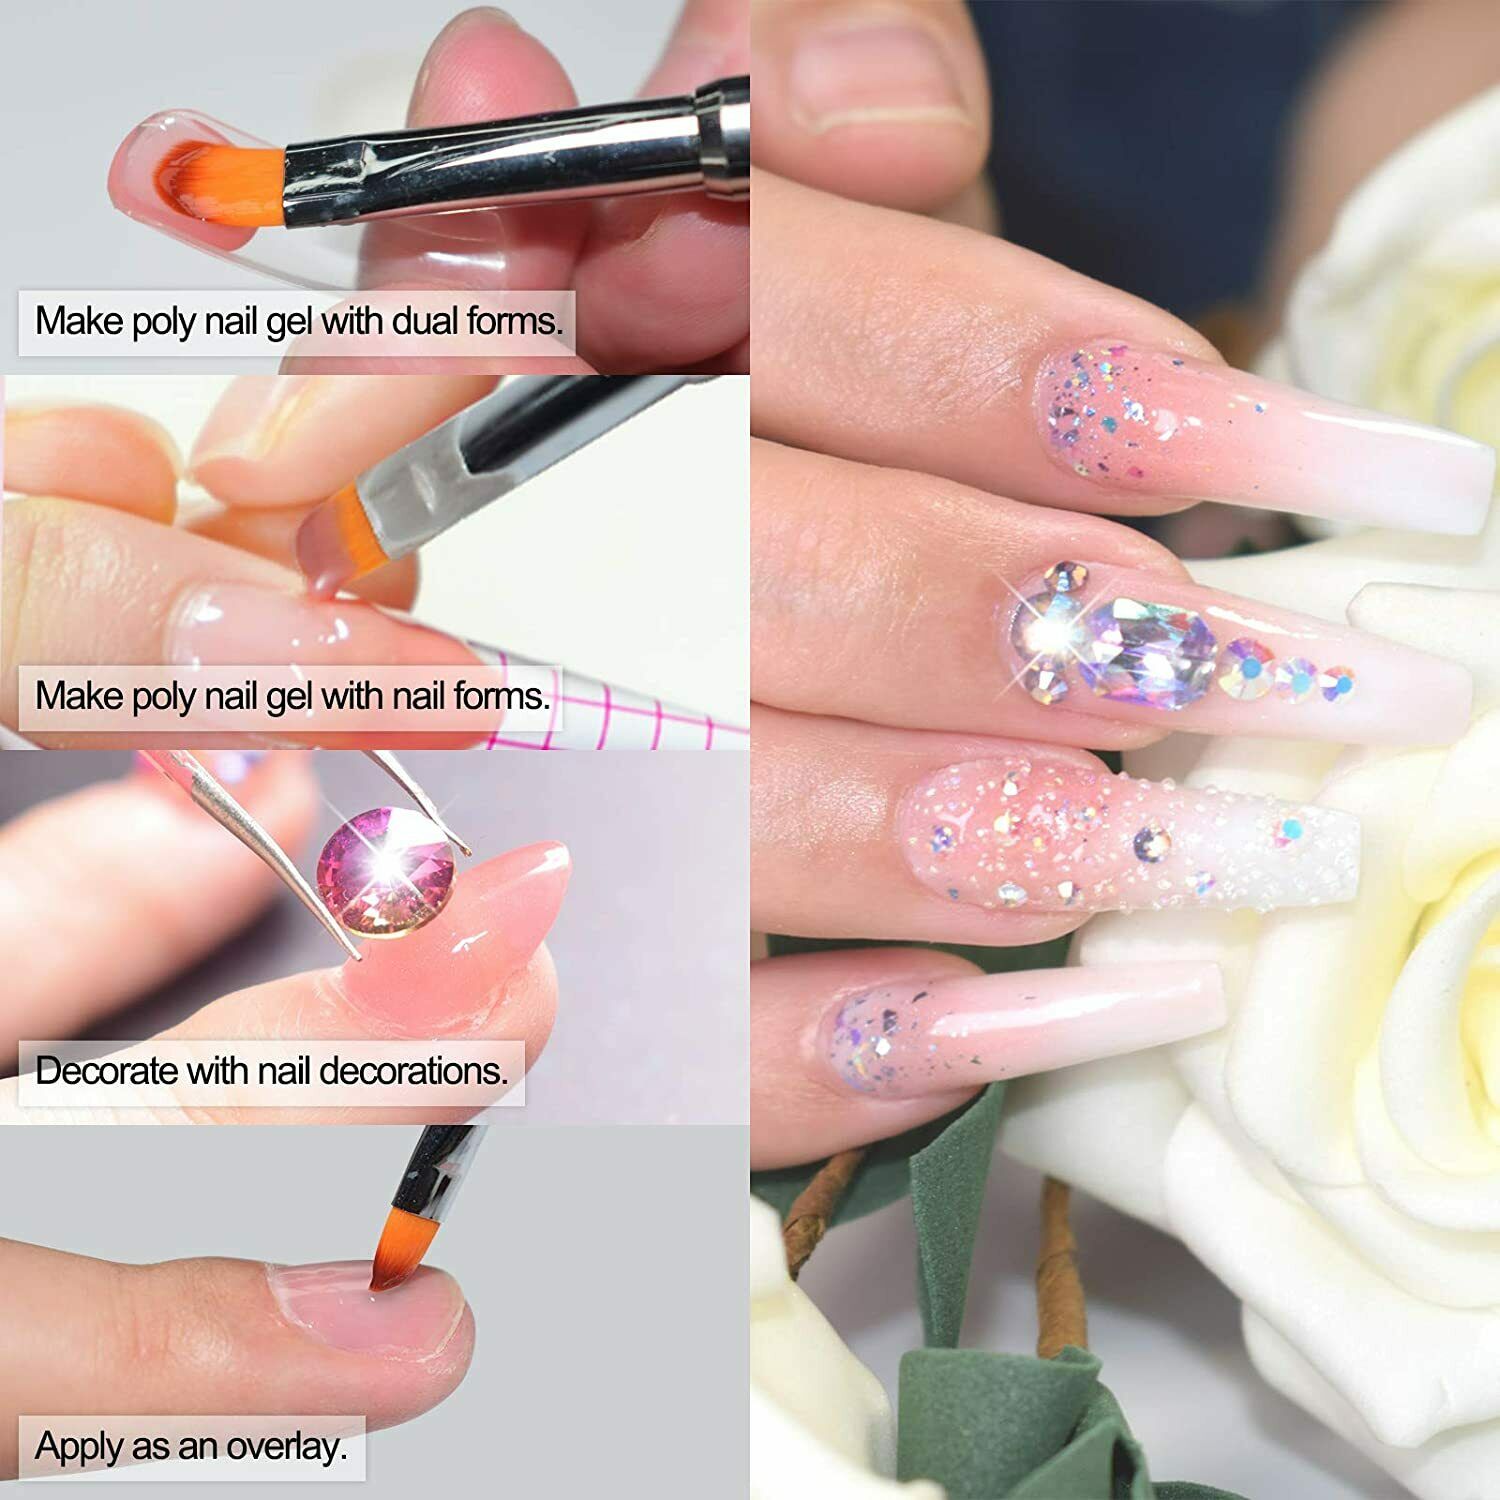
Different ways to apply yayoge poly nail gel kit!
Method 1 Make builder gel with dual form.
This is an easy and quick ways to do nail extension gel nails for nail art beginners.
Step:
1. Prepare your nails (Trim & Clean nail bed,File the nail surface lightly)
2. Apply a very thin layer of base coat, and cure it under UV/LED lamp.
3. Select a suitable shape & size false nail tip.
4. Apply Poly Gel on nail mold, use nail art pen with nail slip solution to make gel smooth.
5. Stick it to your real nail and make sure it fully plying-up, and cure it under UV/LED lamp.
6. Remove the false nail tip, trim the shape and polish your nails.
7. Apply top coat and cure it under UV/LED lamp.
8. Design your nail with your satisfied patterns.
Method 2 Make Extension Gel with Nail Form Stickers
This is an more advance Method! Practice & Practise for better results!
Step:
1.Prepare your nails (trim & clean nail bed) 2.Apply base coat and cure.
3.Put on nail form sticker
4.Apply polygel on you nail bed
5.Cure for 60s with LED
6.Apply 2nd layer of gel on dual form sticker 7.Shape the gel to the size and length you want 8.Cure for 60s with LED
9.Apply top coat and cure.
Method 3 Decorate with decoration or other nail gel
Combine with nail art accessories
You can combine with other nails equipment to create nail art.
Easy to create gorgeous nail styles you like.
